Once I had the
Craft Room painted, and the
dining room hutch refinished for storage, it was time to finally get all of my supplies set up. One of the things that I have a lot of is yarn. I'm not an expert at knitting, like my grandmother and great-aunts are, but I do know how to do a few basic stitches, and have knit some blankets, scarves, and I am currently working on another project that I hope to show you soon. With all of the skeins that I have, five of which are being used on my current project, I needed a place to store them where my adorable and not-so-little cats wouldn't be thieving them every day.
The craft room has a closet, and you've seen the hutch I repurposed for the space, but since this room is all about showing off colors and being fun, I wanted to be able to display the yarn in the space, and not hidden behind closed doors.
Enter the pegboard. I decided to use one of those traditional workshop pegboards on the wall and use the peg hooks that you can buy for them as ways to put up my yarn. But, this wasn't going to be just a boring brown pegboard, so I'll give you one guess as to what color it was destined to be.
If you guessed orange, you are correct! You didn't really think that I would venture away from the best color and my favorite color, did you? Since I was working in the basement, I laid the pegboard up against one of my painting sheets on a wall that I was protecting (not sure why, since those walls will eventually be taken out and replaced) and began painting with my fluorescent orange spray paint. Problem was, it wasn't taking the color. The orange barely showed up against the brown of the pegboard, and it's not just that I wasn't using enough. You can see how orange the sheeting on the sides of the pegboard is, yet that corner of the board was still so brown.
Since I figured that going from brown-->white-->orange would be a better transition than from brown-->orange, I pulled out some of my trusty Zinnser 1-2-3 Primer and put a coat of that on with a mini-roller first. After that dried, I tried the spray paint again and it was perfect!
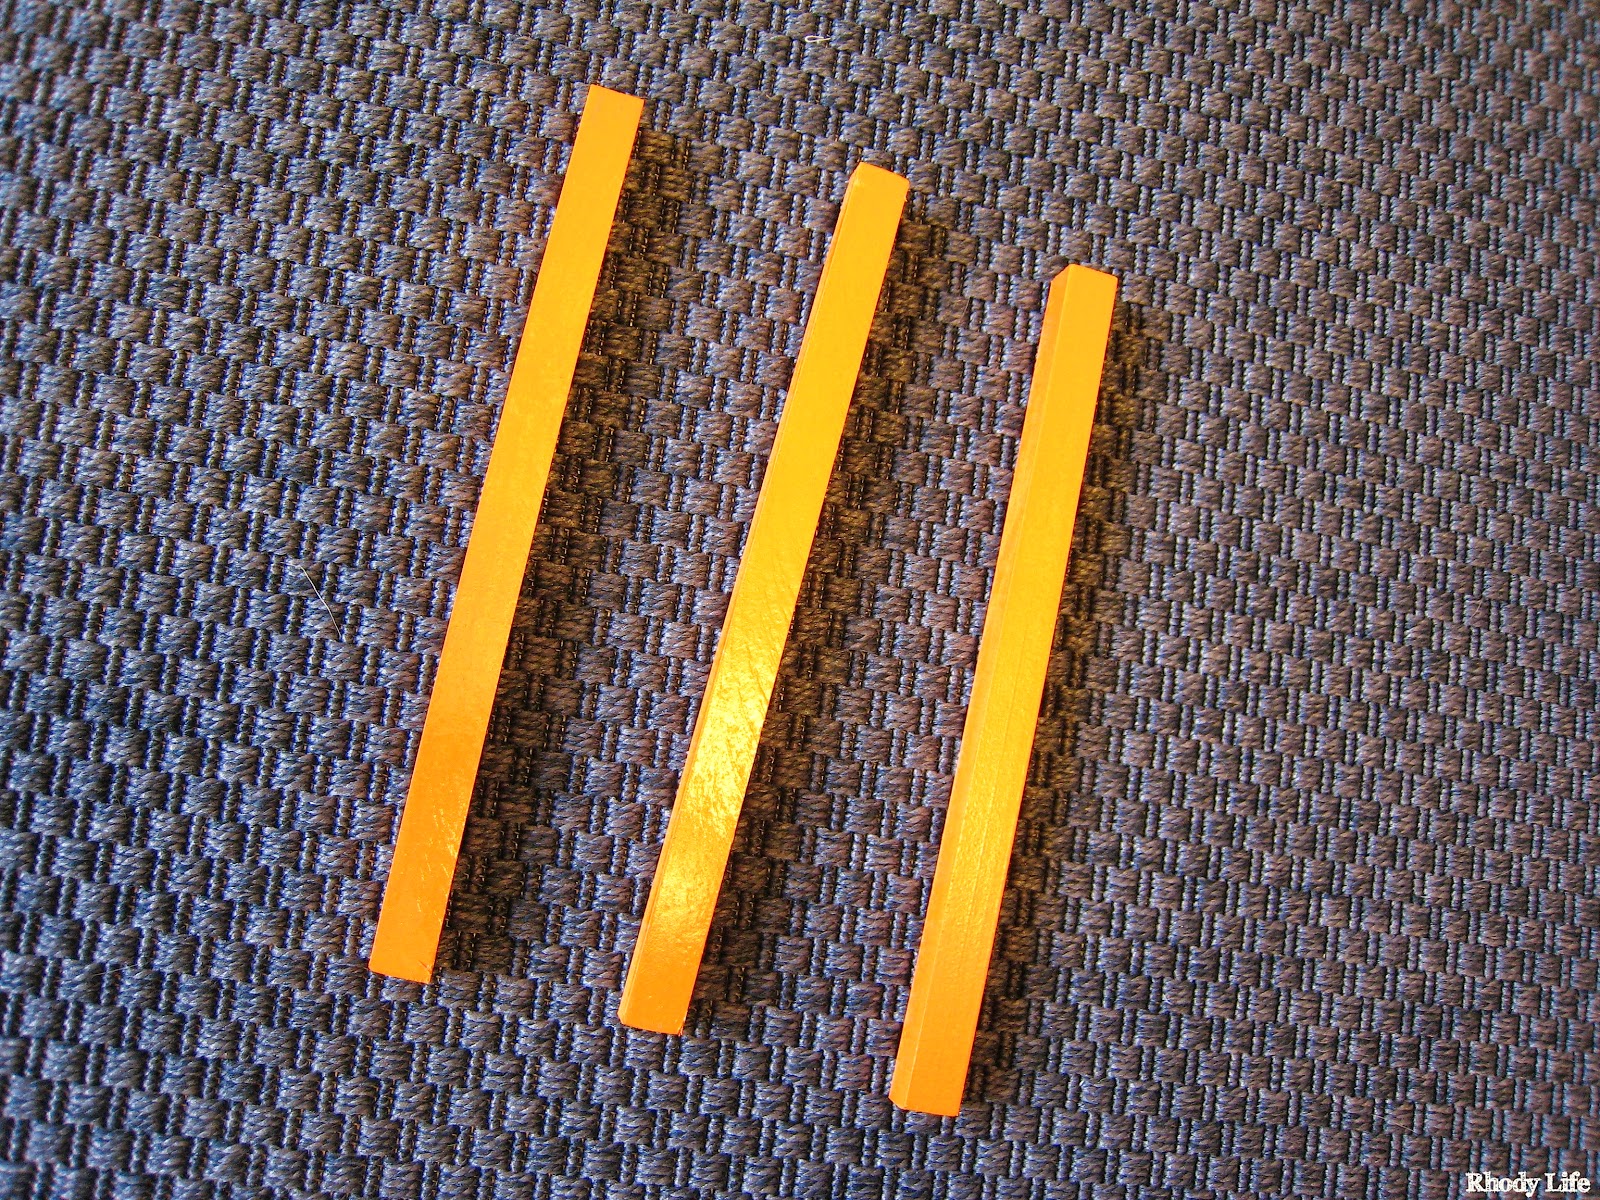
While I was spray painting, I decided that in order to have the pegboard usable with the standard pegboard hooks that go through the holes and grab onto the back of the board, it needed to be mounted slightly off the wall in the craft room. I grabbed a 1/2" square dowel that I had laying around, and cut it into three 12" sections, then spray painted that the same orange color as the pegboard, that way it would blend in if seen behind or through the board. I only needed to paint three of the long sides, since one was going to be flush against the wall, which saved me some drying time and painting time.
Once all my pieces were dry, it was time to hang it all up in the craft room. If this spot looks familiar to you, don't worry - you're not losing your mind. I originally had planned to put this pegboard on the same wall as the tapestry, but when I was ready to hang it, the two different shades of orange were just enough off from each other that it looked terrible. So, I grabbed some scrap cardboard, put it under each leg of the hutch (to protect my hardwood floors and make pushing easier), and pushed that across the room next to the tapestry. It fit perfectly, so I decided that the pegboard would go where the hutch was, that way the two different shades wouldn't clash as much.
First things first, I had to attach the dowels onto the wall that way the pegboard would be slightly mounted. I did some measurements to get the width of the wall from the corner to the moulding of the closet doors, and then found the center. I marked that in a couple of places and lightly drew a vertical line in pencil onto the wall. I took the height of the pegboard and subtracted 4", 2" for the top clearance and 2" for the bottom. I made a horizontal line where the top and bottom dowels would be attached and then drew the line for the third dowel in the middle of the top and bottom ones. I then marked the center of my three dowels and placed them on the wall, lined up with the horizontal line and the vertical line I drew for centering. I grabbed my level to make sure it was straight, and then set in four nails using my nail gun.
Before you move on to attaching the pegboard, pull a little bit on your support dowels to make sure that they are secure to the wall. You don't want to add on your pegboard just to realize that something back there is loose. Add in a few more nails if you need to.
With the supports attached to the wall, it was time to mount the pegboard. This may require two people - one to hold and one to secure, it will really depend on how coordinated you are. Because the pegboard has holes in it, it was easy to see through to where my supports were. I was able to hold up the pegboard, place the top of my board 2" above the top support, level it, and then pop a few nails through the pegboard and into the supports. With the top attached, getting the rest of the pegboard secured was easy. You'll still want to make sure that you have your board level, but it's much easier to secure to the wall with two hands now that it will be partially hung.
Give your board a little tug when you're done, just to make sure that it's secured well to the wall, and add any additional nails if you need to.
And now for the fun part - adding yarn! I was able to find my pegboard hooks at Lowe's, and grabbed a few in different lengths, including a hook that seemed to be made for hanging screwdrivers, but it ended up being perfect for my extra wide knitting needles!
I know that the board looks sparse right now, but that's because I only had these skeins readily available. All of my other yarn is in the attic in a tote bin, so once I get that downstairs and into my craft room, this pegboard will be covered in color.
So, what do you think? Can you see a pegboard being used for yarn storage? What non-traditional uses do you have for a pegboard?
Once I had the
Craft Room painted, and the
dining room hutch refinished for storage, it was time to finally get all of my supplies set up. One of the things that I have a lot of is yarn. I'm not an expert at knitting, like my grandmother and great-aunts are, but I do know how to do a few basic stitches, and have knit some blankets, scarves, and I am currently working on another project that I hope to show you soon. With all of the skeins that I have, five of which are being used on my current project, I needed a place to store them where my adorable and not-so-little cats wouldn't be thieving them every day.
The craft room has a closet, and you've seen the hutch I repurposed for the space, but since this room is all about showing off colors and being fun, I wanted to be able to display the yarn in the space, and not hidden behind closed doors.
Enter the pegboard. I decided to use one of those traditional workshop pegboards on the wall and use the peg hooks that you can buy for them as ways to put up my yarn. But, this wasn't going to be just a boring brown pegboard, so I'll give you one guess as to what color it was destined to be.
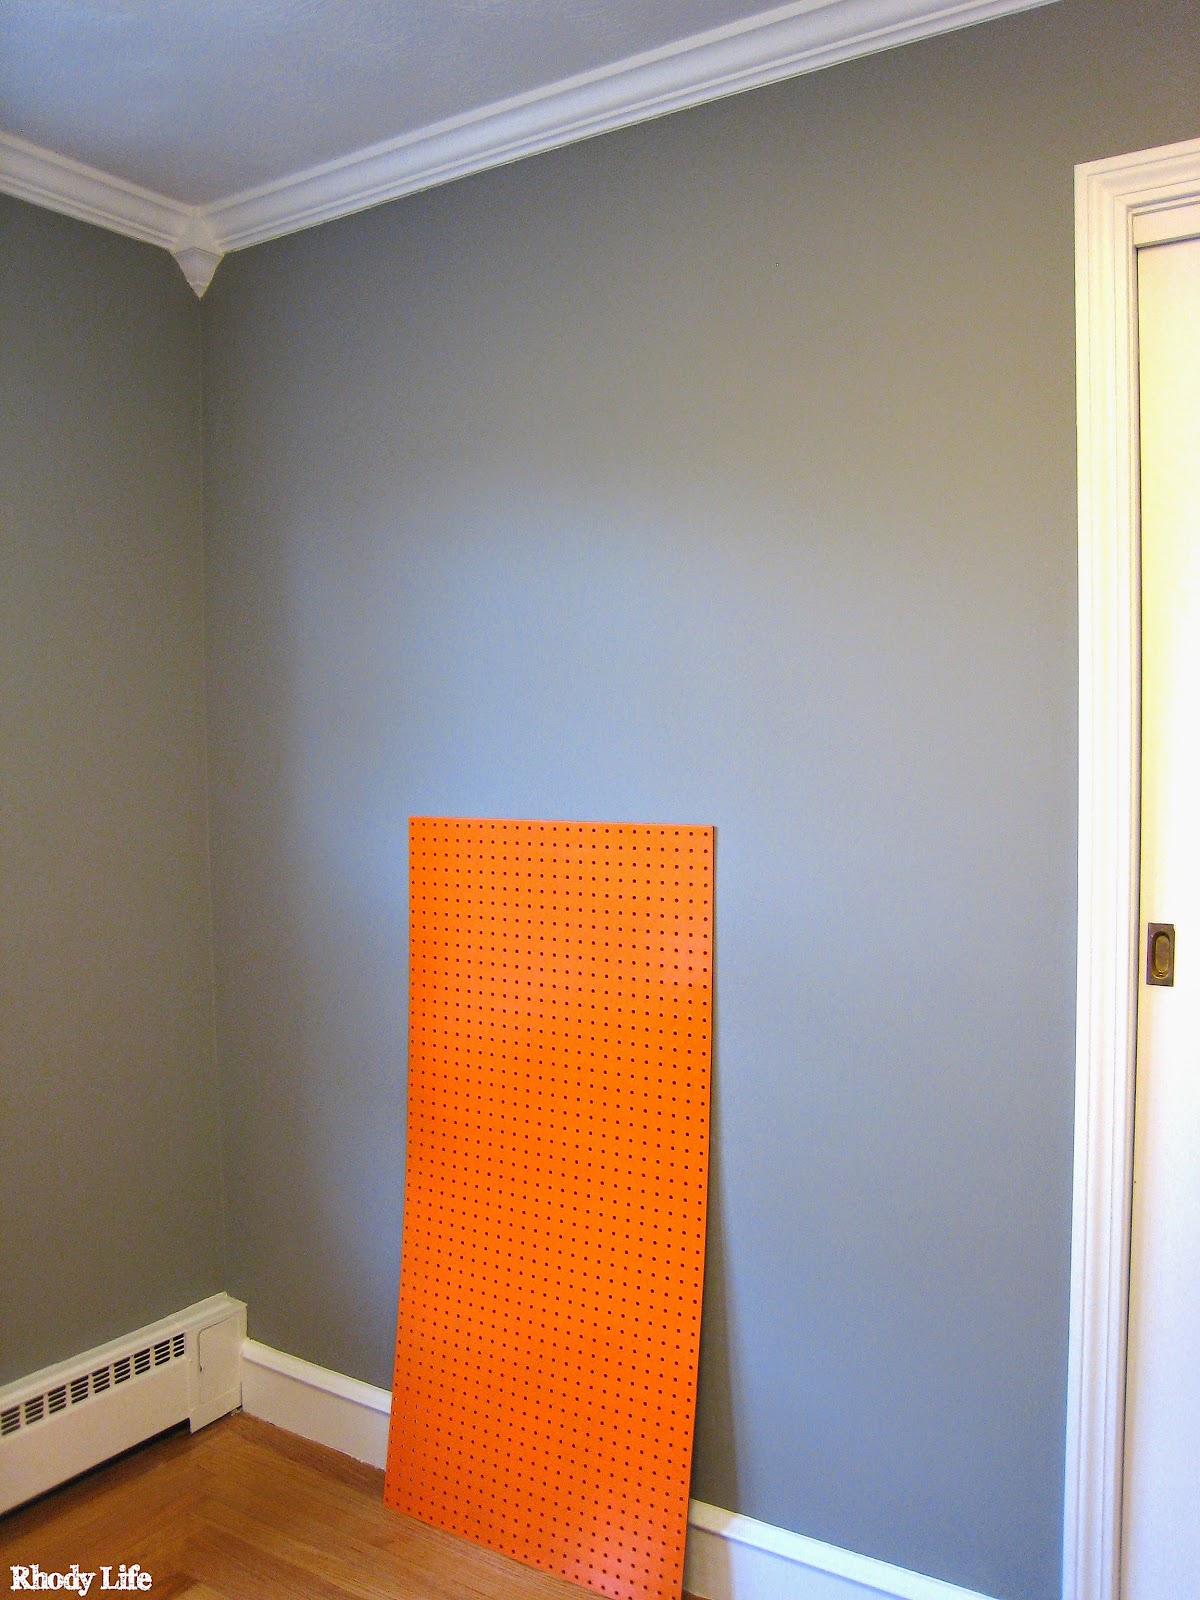
If you guessed orange, you are correct! You didn't really think that I would venture away from the best color and my favorite color, did you? Since I was working in the basement, I laid the pegboard up against one of my painting sheets on a wall that I was protecting (not sure why, since those walls will eventually be taken out and replaced) and began painting with my fluorescent orange spray paint. Problem was, it wasn't taking the color. The orange barely showed up against the brown of the pegboard, and it's not just that I wasn't using enough. You can see how orange the sheeting on the sides of the pegboard is, yet that corner of the board was still so brown.
Since I figured that going from brown-->white-->orange would be a better transition than from brown-->orange, I pulled out some of my trusty Zinnser 1-2-3 Primer and put a coat of that on with a mini-roller first. After that dried, I tried the spray paint again and it was perfect!
While I was spray painting, I decided that in order to have the pegboard usable with the standard pegboard hooks that go through the holes and grab onto the back of the board, it needed to be mounted slightly off the wall in the craft room. I grabbed a 1/2" square dowel that I had laying around, and cut it into three 12" sections, then spray painted that the same orange color as the pegboard, that way it would blend in if seen behind or through the board. I only needed to paint three of the long sides, since one was going to be flush against the wall, which saved me some drying time and painting time.
Once all my pieces were dry, it was time to hang it all up in the craft room. If this spot looks familiar to you, don't worry - you're not losing your mind. I originally had planned to put this pegboard on the same wall as the tapestry, but when I was ready to hang it, the two different shades of orange were just enough off from each other that it looked terrible. So, I grabbed some scrap cardboard, put it under each leg of the hutch (to protect my hardwood floors and make pushing easier), and pushed that across the room next to the tapestry. It fit perfectly, so I decided that the pegboard would go where the hutch was, that way the two different shades wouldn't clash as much.
First things first, I had to attach the dowels onto the wall that way the pegboard would be slightly mounted. I did some measurements to get the width of the wall from the corner to the moulding of the closet doors, and then found the center. I marked that in a couple of places and lightly drew a vertical line in pencil onto the wall. I took the height of the pegboard and subtracted 4", 2" for the top clearance and 2" for the bottom. I made a horizontal line where the top and bottom dowels would be attached and then drew the line for the third dowel in the middle of the top and bottom ones. I then marked the center of my three dowels and placed them on the wall, lined up with the horizontal line and the vertical line I drew for centering. I grabbed my level to make sure it was straight, and then set in four nails using my nail gun.
Before you move on to attaching the pegboard, pull a little bit on your support dowels to make sure that they are secure to the wall. You don't want to add on your pegboard just to realize that something back there is loose. Add in a few more nails if you need to.
With the supports attached to the wall, it was time to mount the pegboard. This may require two people - one to hold and one to secure, it will really depend on how coordinated you are. Because the pegboard has holes in it, it was easy to see through to where my supports were. I was able to hold up the pegboard, place the top of my board 2" above the top support, level it, and then pop a few nails through the pegboard and into the supports. With the top attached, getting the rest of the pegboard secured was easy. You'll still want to make sure that you have your board level, but it's much easier to secure to the wall with two hands now that it will be partially hung.
Give your board a little tug when you're done, just to make sure that it's secured well to the wall, and add any additional nails if you need to.
And now for the fun part - adding yarn! I was able to find my pegboard hooks at Lowe's, and grabbed a few in different lengths, including a hook that seemed to be made for hanging screwdrivers, but it ended up being perfect for my extra wide knitting needles!
I know that the board looks sparse right now, but that's because I only had these skeins readily available. All of my other yarn is in the attic in a tote bin, so once I get that downstairs and into my craft room, this pegboard will be covered in color.
So, what do you think? Can you see a pegboard being used for yarn storage? What non-traditional uses do you have for a pegboard?


15 comments:
This is a great article and your blog is also very interesting. Thank you.
Wow! Such an amazing and helpful post this is. I really really love it. It's so good and so awesome. I am just amazed.
home interior painting
fv d
Thanks for sharing the great information about the painting. I love the way you explain the things. Keep sharing the good content. You can also see the different ways to improve the miniature painting as an artist.
able to deliver groceries right to your door, including long-lasting nonperishables like canned vegetables, rice, beans, nuts and more. Frozen foods could also be beneficial if you’re looking to cook for a family.
카지노사이트
온라인카지노
카지노사이트추천
If you desire to get a great deal from this post then you have to apply such techniques to your won web site
카지노사이트
바카라사이트
카지노사이트홈
Fabulous, what a weblog it is! This webpage presents helpful facts to us, keep it up.Look into my site 토토사이트
Outstanding post, you have pointed out some great points, I besides think this is a very good website .Also visit my site;
토토
스포츠토토
스포츠토토탑
Legal issues can be complicated, particularly when they include traffic. It seems that your site makes sense of these difficulties, providing insightful information to Fairfax residents who might be considering legal aid. I appreciate you offering this resource!
Fairfax Traffic Lawyer
Creating a DIY yarn board is a delightful and practical project that combines creativity with functionality. To start, gather a corkboard, yarn in various colors, and small pins. Begin by securing one end of the yarn to the back of the board using a pin, then weave it across the board in a pattern or design of your choice. Use different colors to add vibrancy and flair.
How long Can a Divorce Take in New York
I located the information very useful. You're a great author in this generation, thanks
Hi there, this website is actually nice and really sharing nice thoughts.
An interesting discussion is definitely worth comment. Write more, All the best!!
Valuable information. Thanks I discovered this awesome website here.
Post a Comment