Wednesday, October 3, 2012

Little Green Plants

A few months ago, I talked about the problem I had with my idea for favors.  Well, after thinking about the different options that I now had, I decided to go with these little green plants as our favors and escort cards.

Lucky Bamboo Plants via Eastern Leaf

Eastern Leaf allows you to set a "Need By" date for items that you purchase from them. I set the date for the day before the wedding, just to make sure that I would have time to assemble the plants.  They emailed me after I placed the order, letting me know that they would ship the plants on September 24, and that I should receive them within five business days.

September 24th came, and I received an email letting me know that my plants shipped from California. In the email, they included a tracking number, and that page sat open on my computer that entire week, with me periodically checking in every day to see their location.  And when they arrived a day earlier than expected, I was thrilled!  

We got to work this past weekend (actually on my birthday!) to put them together.  

These boxes were heavy! 26 and 36 pounds! / Personal Picture

I have to tell you, readers, I was really surprised by the packaging that these came in.  The boxes were packed full of packing peanuts, the vases were in boxes of 24 with each separated by a piece of cardboard to avoid clinging, and the extra vases were wrapped in foam sheets.  The plants were set in a water soluble gel to keep them watered, and grouped together using rubber bands and plastic baggies.  The colored gravel were also packaged well, and each bag was labeled with how much gravel this was for.

Hey! Have some packing peanuts! / Personal Picture

Perfectly packed vases / Personal Picture

Bamboo stalks wrapped in the water gel / Personal Picture

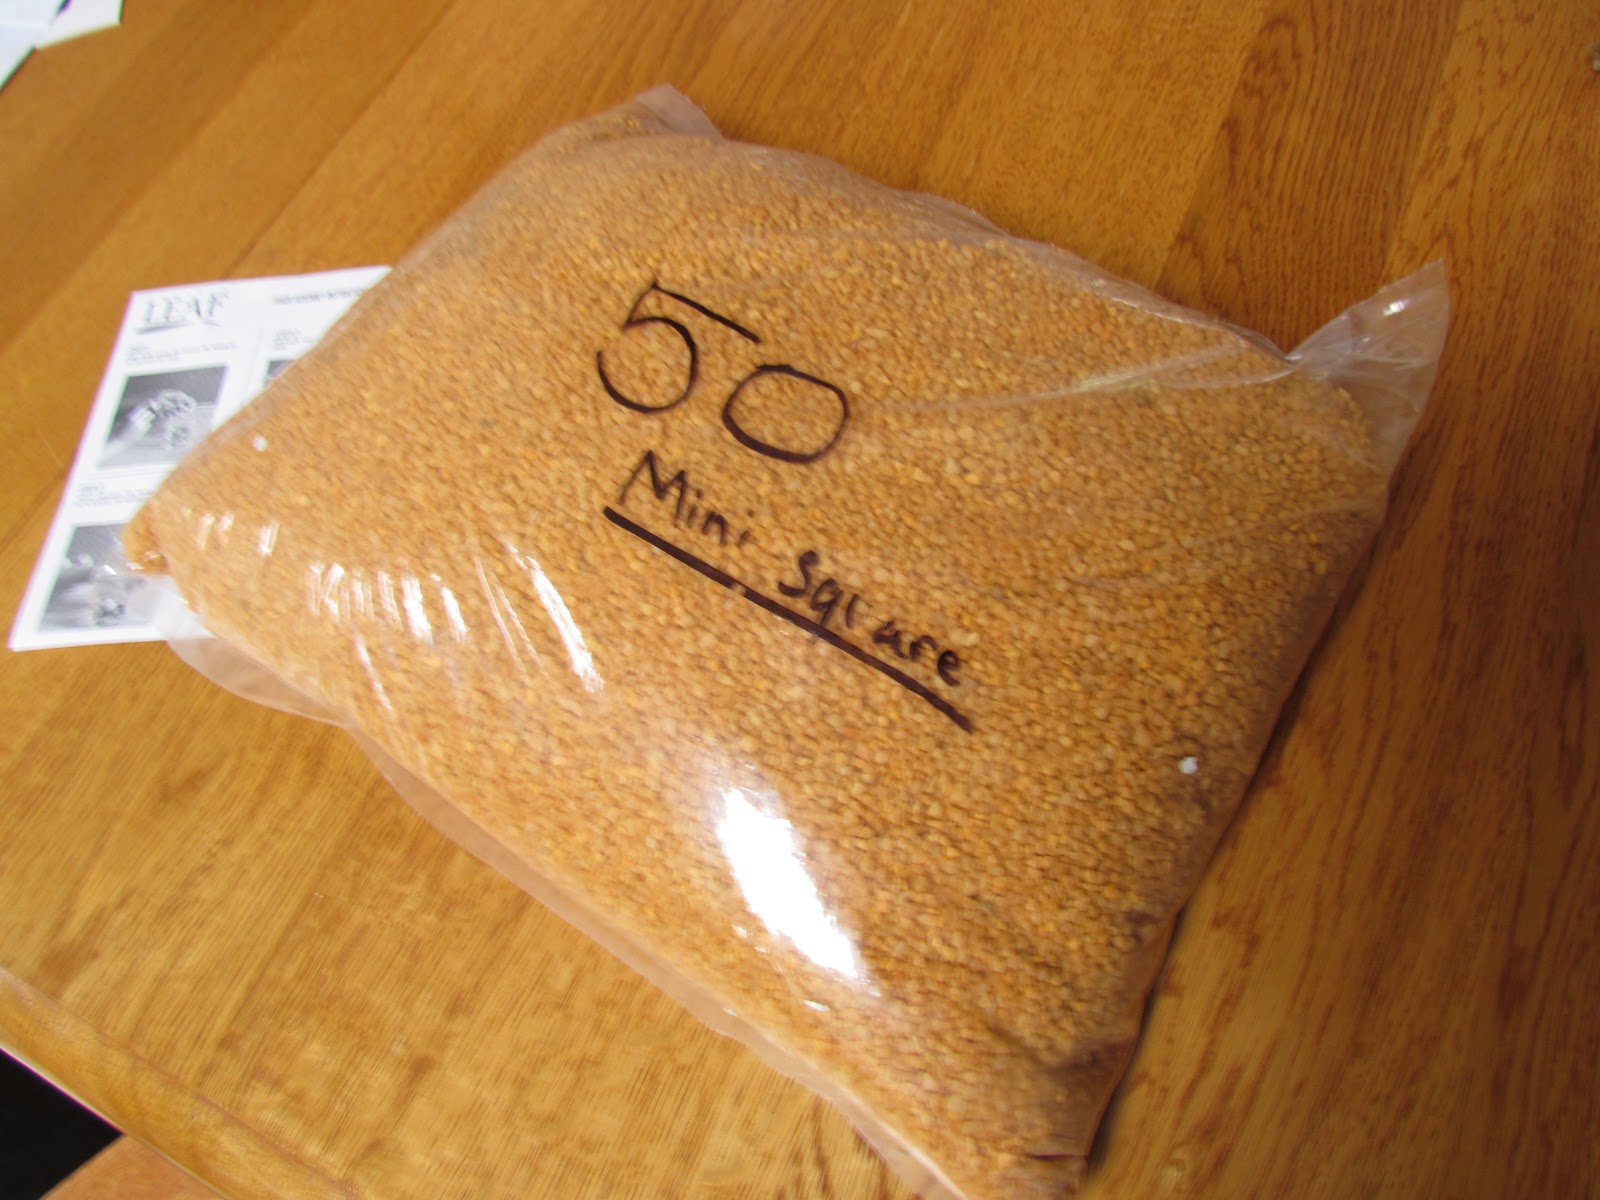
Orange gravel (I swear, it's more orange in person) / Personal Picture

The first thing I did after unpacking everything from the boxes was ask FI to wipe out the interior of the vases. I wanted to make sure that they were free of oils and cardboard lint before placing the plants inside.  

Next, I filled up a bowl with the gravel so that I could spoon it into the vases easier.  I found that using measuring spoons, 1 tsp and 1Tbs were the perfect amounts for the gravel in each vase.  I'll elaborate more on that later.  

The bamboo was packaged in groups of 10 stalks, which is actually how they are grown.  The difficult part about this is that all of the roots were tangled, and we needed to separate each group into sets of 2 stalks, as that's how many I chose for each vase.  I got a medium sized mixing bowl, filled it half way with water, and set the stalks in there.  Because the gel that they were in for shipping was water soluble, as soon as the stalks hit the water, the gel disappeared, which was great.  To get the stalks apart, I let them fall out of their round shape, and pulled very very gently on each pair of stalks to help it separate from the others.  I left them in the mixing bowl until I was ready to place each pair in a vase.  

Separated bamboo stalks / Personal Picture

The plants came with a little directions sheet on how to assemble everything, so I took that out and had a look.

Assembly directions / Personal Picture

I played around a bit with the amount of gravel, and decided to be frugal with the amount I used in each vase, because I was afraid of running out.  I scooped 1 tsp of gravel into the bottom of every vase, and then placed the bamboo stalks on top.  For some of the stalks that had really long roots, I simply wrapped them around the base of the stalks and then placed them in the vase.  

Stalks over the bottom layer of gravel / Personal Picture

Using the 1 Tbs measuring spoon, I then added two tablespoons of gravel into the vase to hold the stalks upright.  

I added enough water to cover the gravel and then some, and then placed all of the plants back in the boxes that the vases shipped in.  I currently have the plants sitting in the living room, away from all pesky animals, and out of direct sunlight.  I'm checking their water every day, and am hoping that they transport well on the day of.  

Bamboo Stalks with Gravel / Personal Picture

The plants will eventually have ribbon ties on them, similar to the stock picture, but we will also be hanging the escort cards from the ribbons, giving them double duty.  I'm afraid of the cards getting wet though, so we are going to wait until the last minute to put the tags on.  Plus, tying 80 knots shouldn't be too time consuming...I hope!

What are you doing for your favors and escort cards?  Are you incorporating any live plants into your wedding, other than normal flowers?

Tuesday, October 2, 2012

A Productive Night

Now that we have the kitchen and the family room all set up, we can kind of ignore the rest of the house for a little bit, and start focusing back on the wedding.  We've been doing small little house projects, but it's hard to get things done during the week when we don't get home until 6, and then need to figure out dinner, so small wedding tasks are less tiring, and less involved than some of the things that need to be done to the house, not to mention the wedding is way more time sensitive.

So, this past weekend, my mom and I decided to start up with the centerpieces again.  Over the course of a few months, my FMIL and I went to 3 or 4 different Michaels stores to get these little glass vases.  Since I had stopped purchasing them in April and then had them packed for moving, we took them out of their box and packing paper to see them looking like this:

Cloudy and Dirty Vases / Personal Picture

Also, some were chipped and cracked, so I am happy that I ended up having two tables worth of extras. Not sure if this was from the move (likely) or just that I had purchased them that way. Honestly, I was so stressed about whether or not I would end up finding enough in my area that I didn't really inspect them before purchasing.  I guess I should have done that, since I ended up finding them relatively easily.  

After breaking them out though, we decided to give them a nice bath before actually working with them.

Clean sparkly vases, thanks to my mom! / Personal Picture

While I was drying all the vases, my mom got to work pulling all of the flower heads off of the stems that they came on.  Thankfully, this was very easy.  

De-flowering the stems, LOL! / Personal Picture

And it turns out that we had so many more than what we needed!  This next picture only shows half of the stash that I ended up with.  Good thing these things were so cheap, otherwise that would have ended up as a total waste of money instead of only a little waste of money.  

Half the flower stash / Personal Picture

After sorting all the flowers by color, we arranged the vases in groups of four, which is how they will be placed on each table.  We then chose the best looking flowers from each color, and placed one in each vase.

Since I was having such a hard time with getting the flowers to not float to the surface in the Jell-O, I decided to hot glue the flowers to the bottom inside of the vase, so we each got a glue gun (yes, we had three and recruited my sister to help) and glued them in place.

Flower glued to vase / Personal Picture

After letting them dry overnight in the empty china cabinet, we decided to try one with the Jell-O to see how it looked.

All the flowers glued / Personal Picture

The centerpieces take a regular box of Jell-O, and cut the amount of water in half in order to make it set better at room temperature.


1 box of Jell-O mixed with 1/2 cup of boiling water / Personal Picture

Mixing the Jell-O and hot water until smooth / Personal Picture

Adding 1/2 cup of cold water to the mixture / Personal Picture


Then, after the Jell-O was mixed together, I poured it over the flower that was glued to the bottom of the vase.

Slowly pouring the Jell-O over the flower / Personal Picture

The stirring created some bubbles at the top of the Jell-O, so I just used my finger to pop them, although I guess you could also use a toothpick or something other than your hands.

Popping the air bubbles at the surface / Personal Picture

I stuck the vase in the fridge overnight, and the next morning, it looked awesome!

Hardened Jell-O with the flower (and some condensation from being removed from the fridge) - Sorry about the barcode. This was a test vase used at the last minute, so it didn't get peeled off! / Personal Picture

I think this is actually going to work! Only 48 more to go, since this was a test vase (had a chip off one of the corners).

Are you using Jell-O for anything in your wedding? Yeah, I didn't think so.  :)

Monday, October 1, 2012

Where Is [INSERT ITEM HERE] ???

In the chaos of moving, many items have been misplaced.  The most important item? My camera charger. And my camera can't take regular AA batteries. It has a battery pack, like most digital cameras do now.

So, I've been using my mom's camera, but that also means that I haven't been able to upload the pictures from it yet.

I have been getting a lot done, and have drafted up some posts of projects that I have been completing, but I just need to add the pictures in and then post them.

We're in the last week now, and I can't even believe that I can finally say, "I'm getting married this weekend!"


Related Posts Plugin for WordPress, Blogger...
Pin It button on image hover